
Boho Arched Wicker Shelf Makeover

Over the last couple of years, I’ve really been into watching YouTube videos on furniture painting and flipping. As most of you know, I LOVE a good side hustle but one that doesn’t take much work. So while I was interested in trying my hand at flipping painted furniture, I also didn’t want to spend hours prepping, sanding, and painting an entire makeover piece for my first go-around - especially since we already have so many renovations going on in our house.
One of my favorite side hustlin’ couples to watch on YouTube is Jamie and Sarah, they flip furniture for profit among many other side hustles such as buying Amazon pallets and flipping the items for profit.
In one video, they took an arched wicker shelf that was previously painted white and spray painted it back to its original natural rattan color, then flipped it for a nice $120 profit. Cha-ching! That seemed easy enough for my first painted furniture flip.
Ever since then, I was on the hunt for an arched wicker shelf to makeover but I really doubted I would find one since they are so popular right now with the whole rattan boho-style decor movement that’s been going on. Seriously, go to Google and type in “boho arched shelf” and you will see a ton of these types of shelves both new and old for sale and for a pretty penny at that! I typically see them selling between $200-$700.
It’s funny to see this style being popular again, especially considering these were a staple in most homes when I was growing up in the 80s and 90s. I also remember the shift in the 90s when wicker was seemingly out-of-date and so everyone spray painted their wicker furniture white. As a kid, I too had an entire bedroom set of white wicker. This is why we now have to save all of these sad white pieces and return them back to their natural glory!
When you are doing an internet search, here are other names you can use when looking for an arched wicker shelf:
Arched rattan shelf
Arched wicker shelf
Mid Century wicker rattan shelf
Wicker bookshelf
Rattan bookshelf
Arched wicker bookshelf
Wicker etagere with arched top
Waterfall wicker rattan etagere
Rattan domed bookshelf
Tall wicker shelf
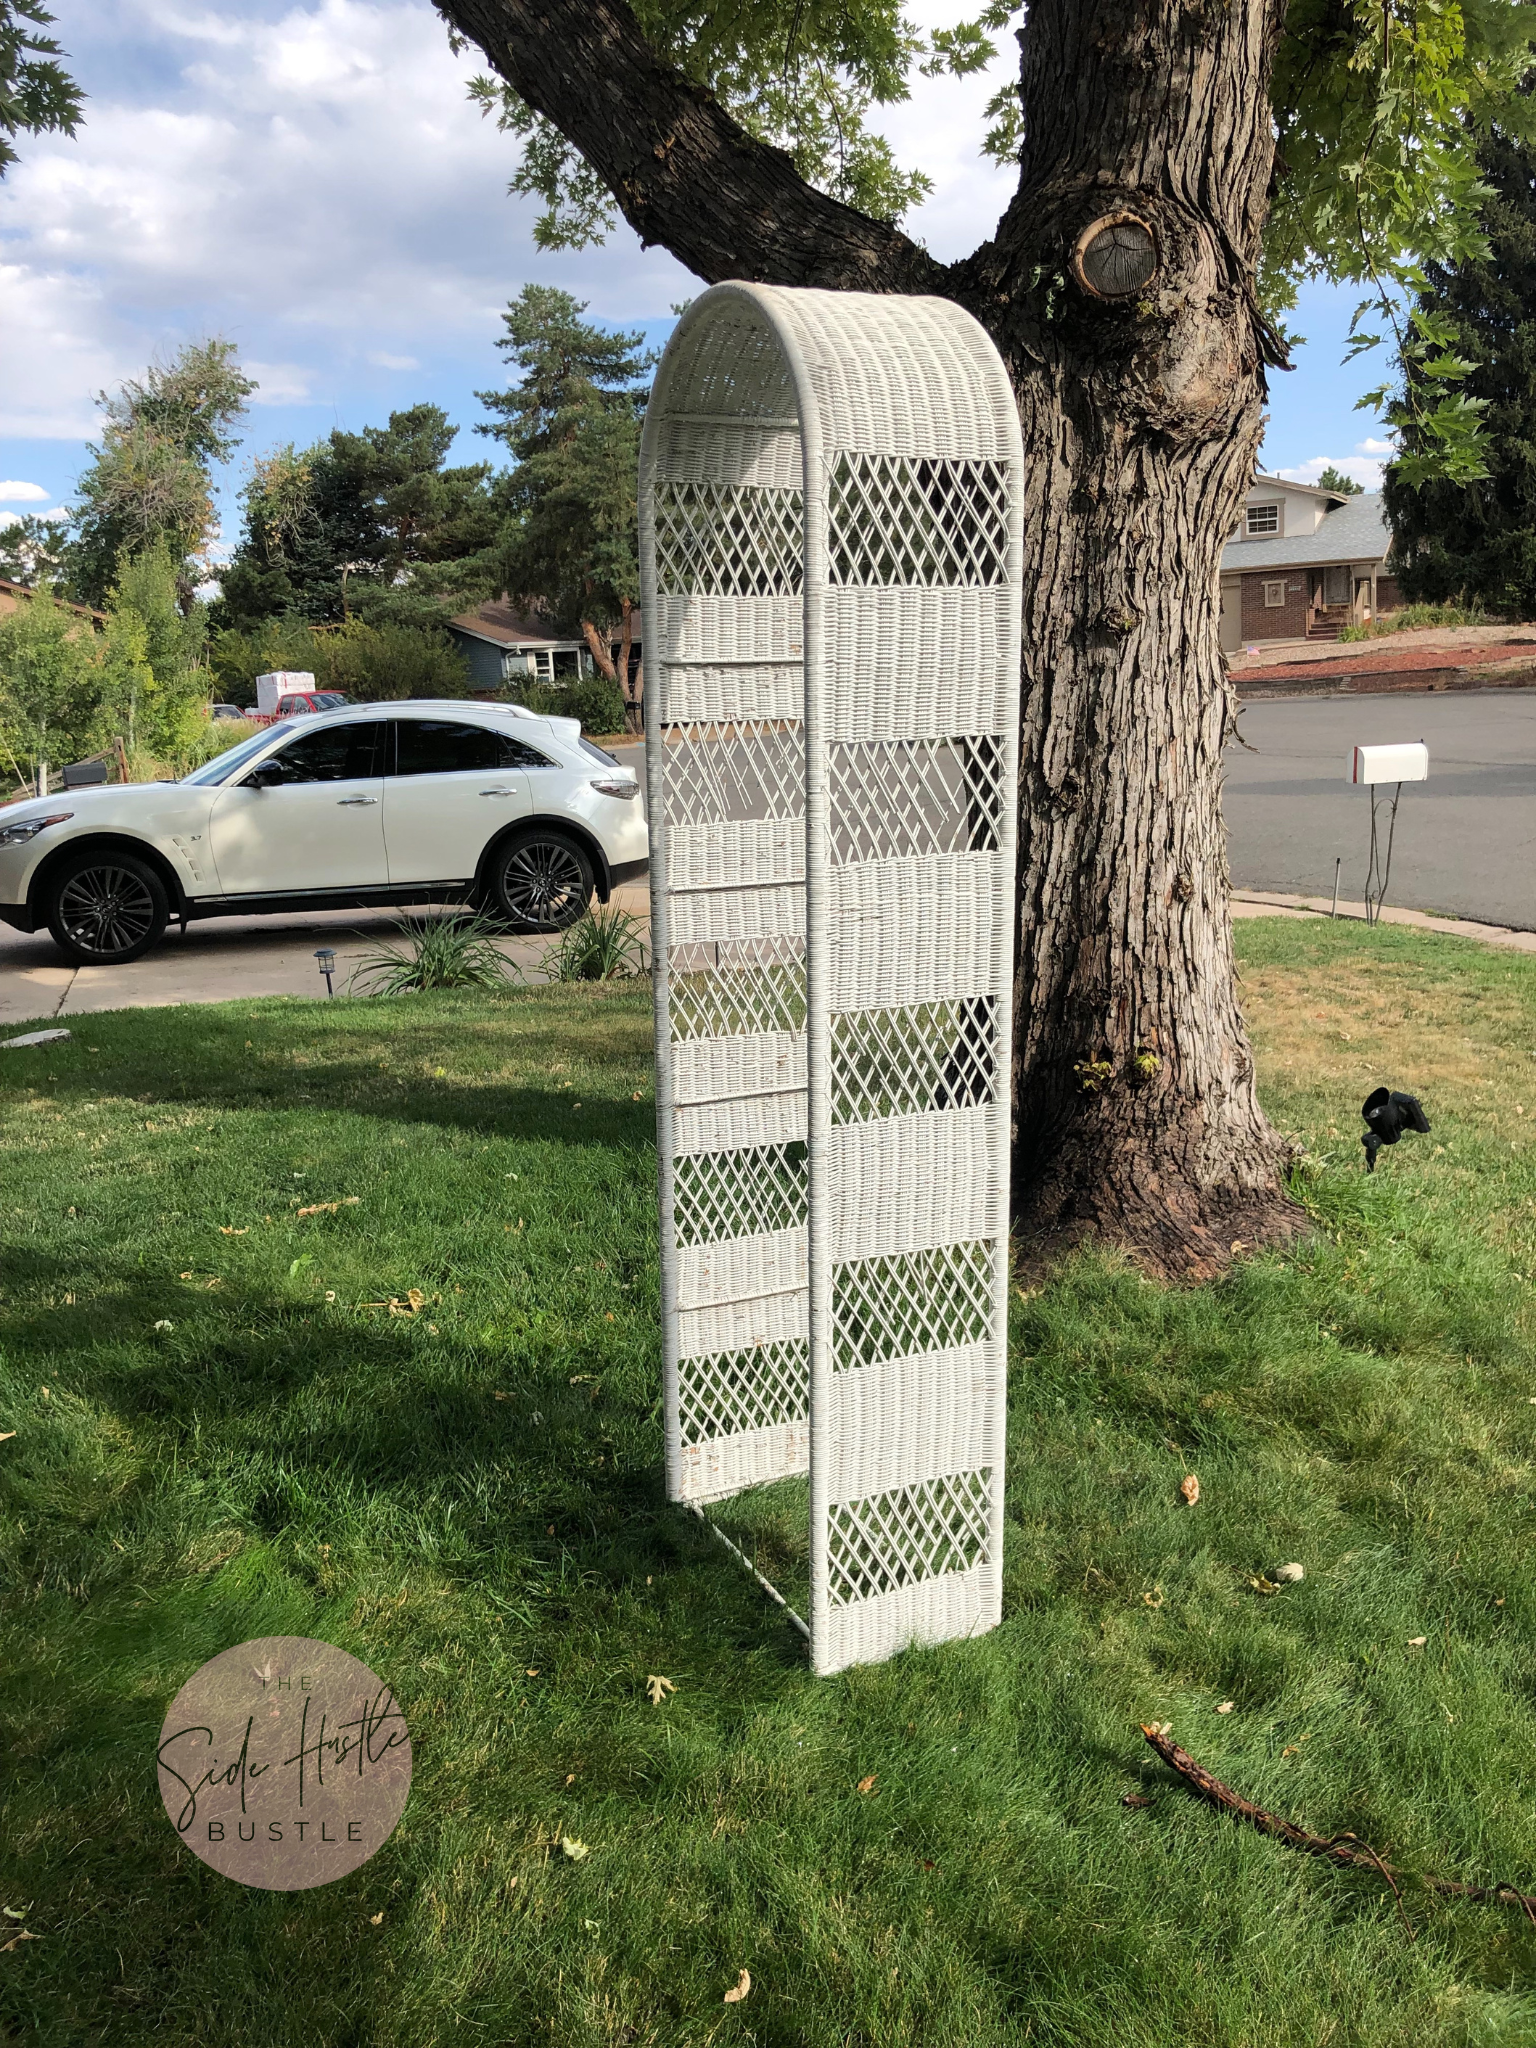
Even though the shelves are so popular, I held out hope that I would find one. Wouldn’t you know that one day while on the Nextdoor app, I just happened to click on a listing that featured several white-painted wicker bedroom pieces being sold as a set. About 3 photos into the listing, I spotted the shelf and about screamed! I messaged the seller to ask if she would split up the set and she sold it to me for only $25! I could not believe the deal I was getting.
Once I picked up the shelf, I realized it had a lot more broken side pieces than I was anticipating. So much for a quick flip - ha!

I went back and forth on whether to attempt to fix the broken pieces or just sell it as-is. I wasn’t sure if it was going to be worth my time and effort. So, while I hemmed and hawed over what to do, I listed the shelf as-is on FB Marketplace for $150 just to see what would happen. I thought if I could get that much for it, I would sell it and move on. Someone offered me $120 which would still be a really good profit at $95 for no effort at all, but by that time, I had pretty much convinced myself I was ready to give the repair a try. I politely declined the offer and took the shelf off Marketplace.
After I did a ton of research and found very few resources for repairing an arched wicker shelf besides just repainting it, I found only one article that gave some great tips on repairing it. However, it still left me with some unanswered questions. So I just said the heck with it, I would figure it out along the way and I bought my supplies.
Notes about spray paint for rattan furniture:
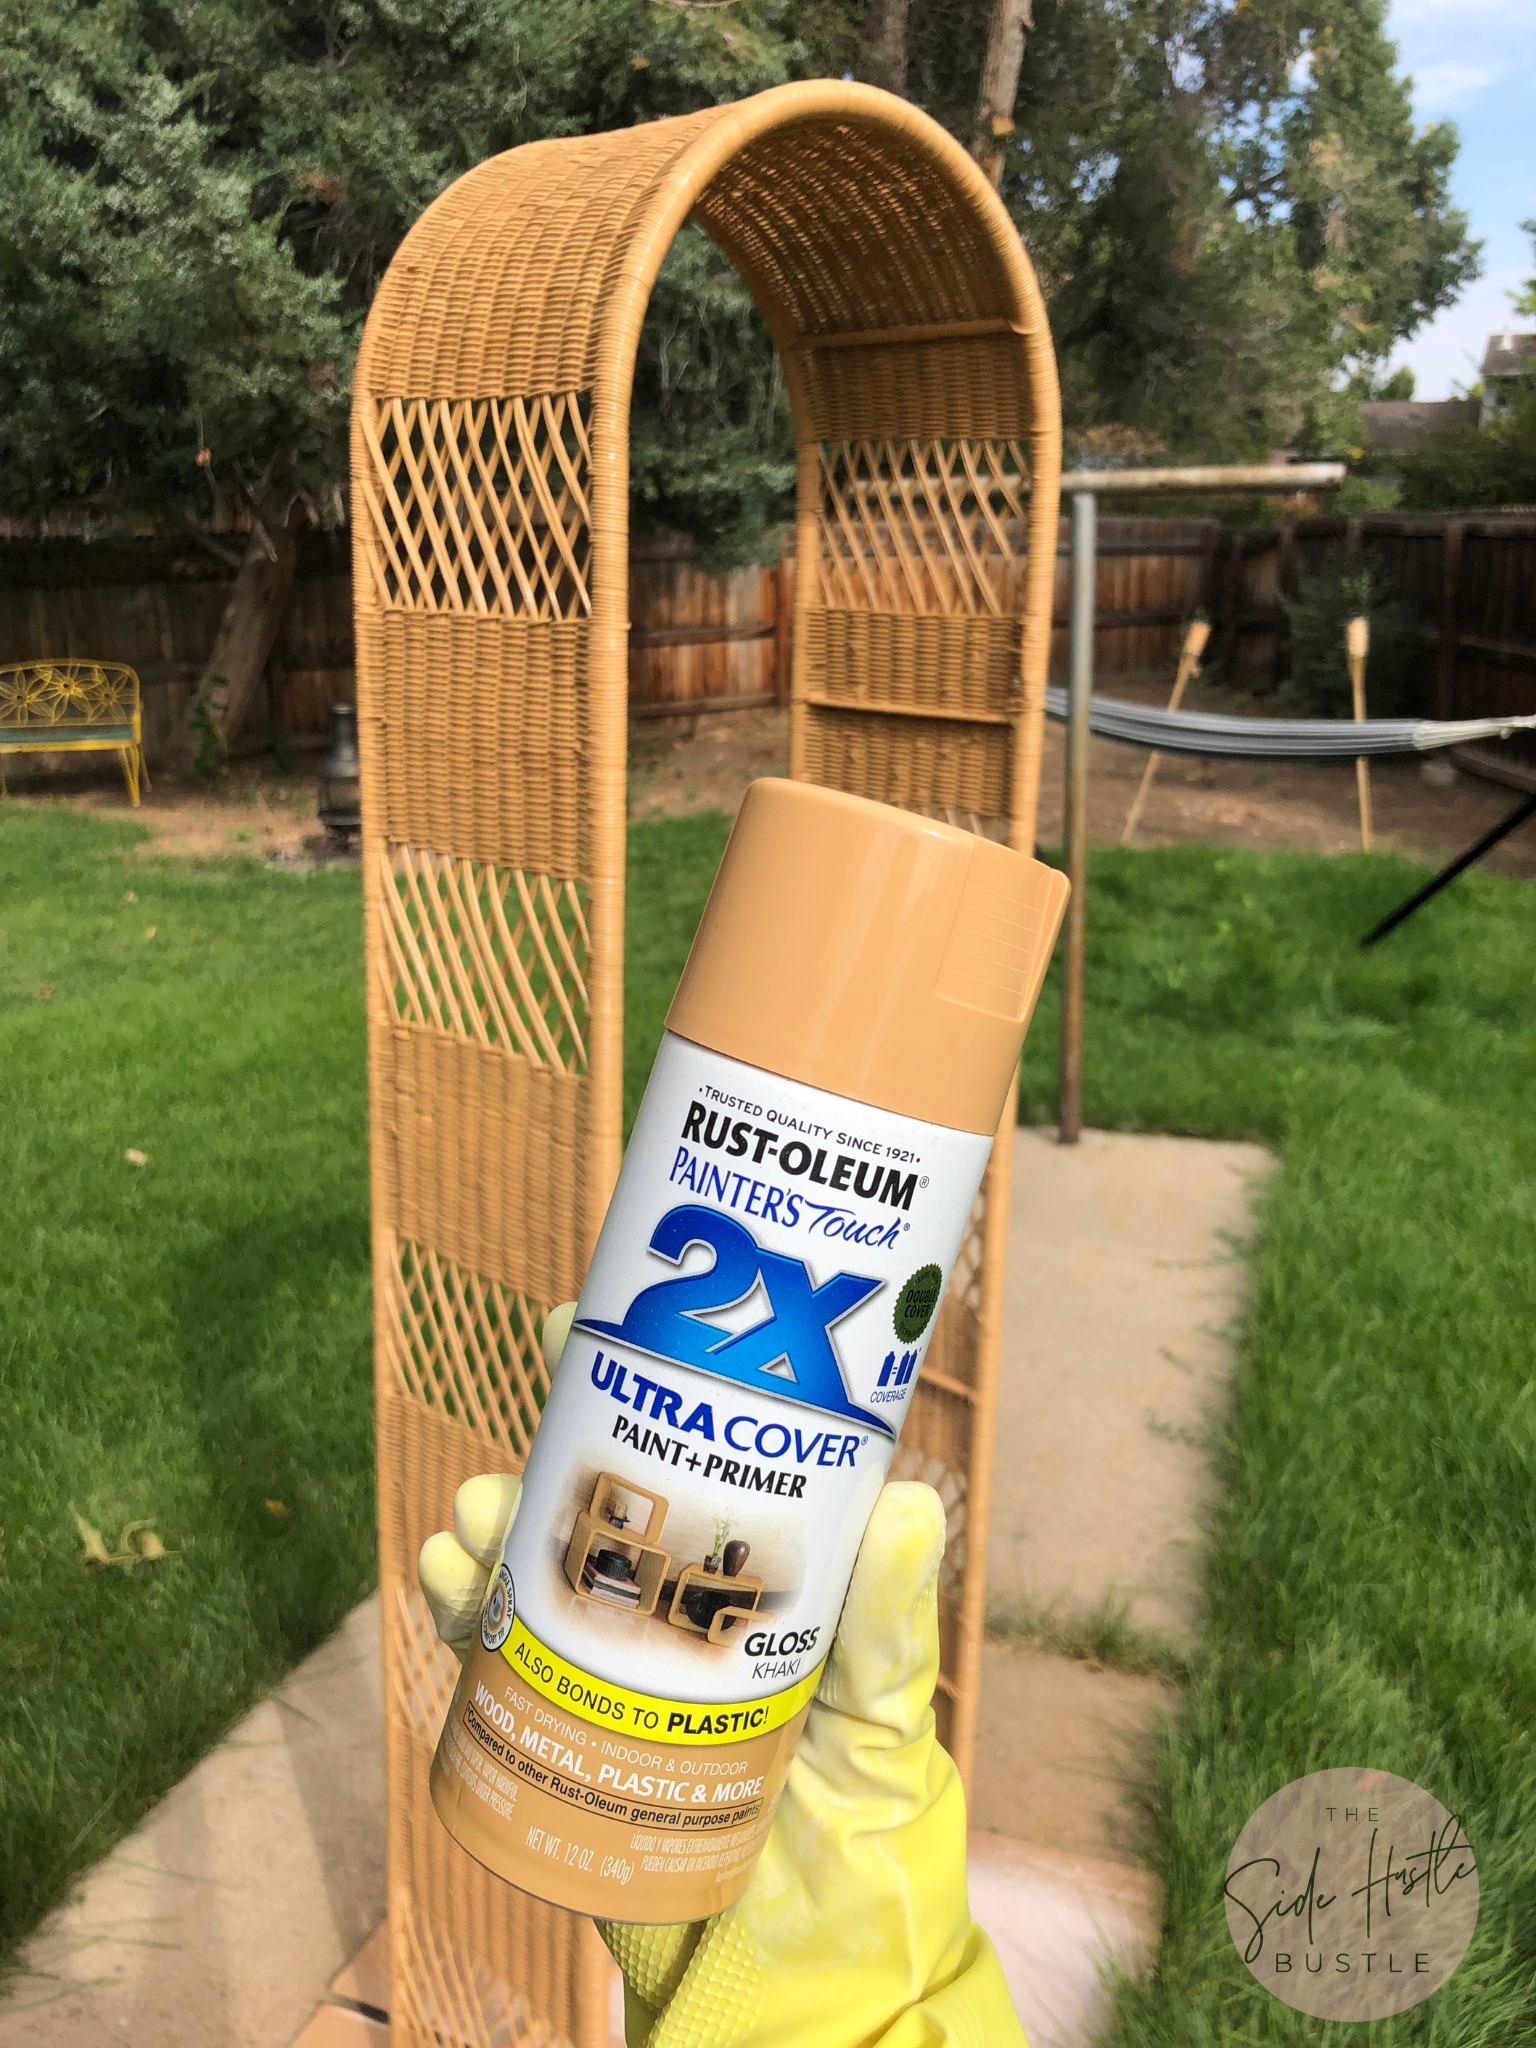
Now, Jamie and Sarah used Rustoleum Satin Nutmeg spray paint to refinish their shelf but after buying the paint, the color looked a little too brown to me and less like rattan.
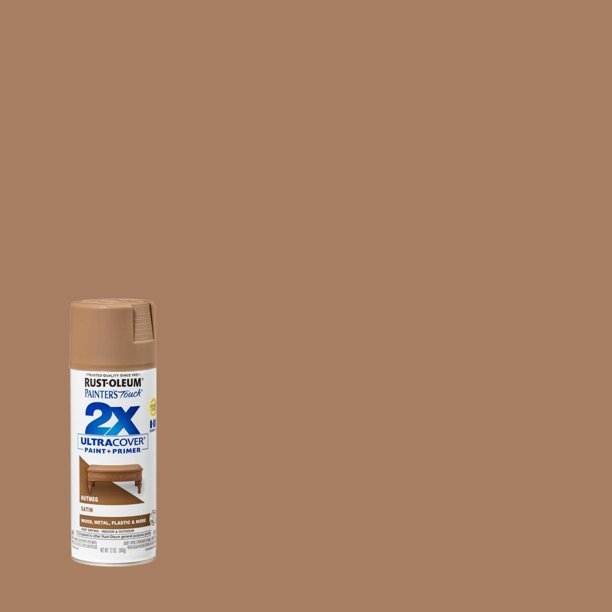
I ended up returning it and purchased Rustoleum Khaki color after watching this helpful YouTube video and seeing some other articles about people using the same color. The Khaki felt more of a natural wicker rattan color to me.
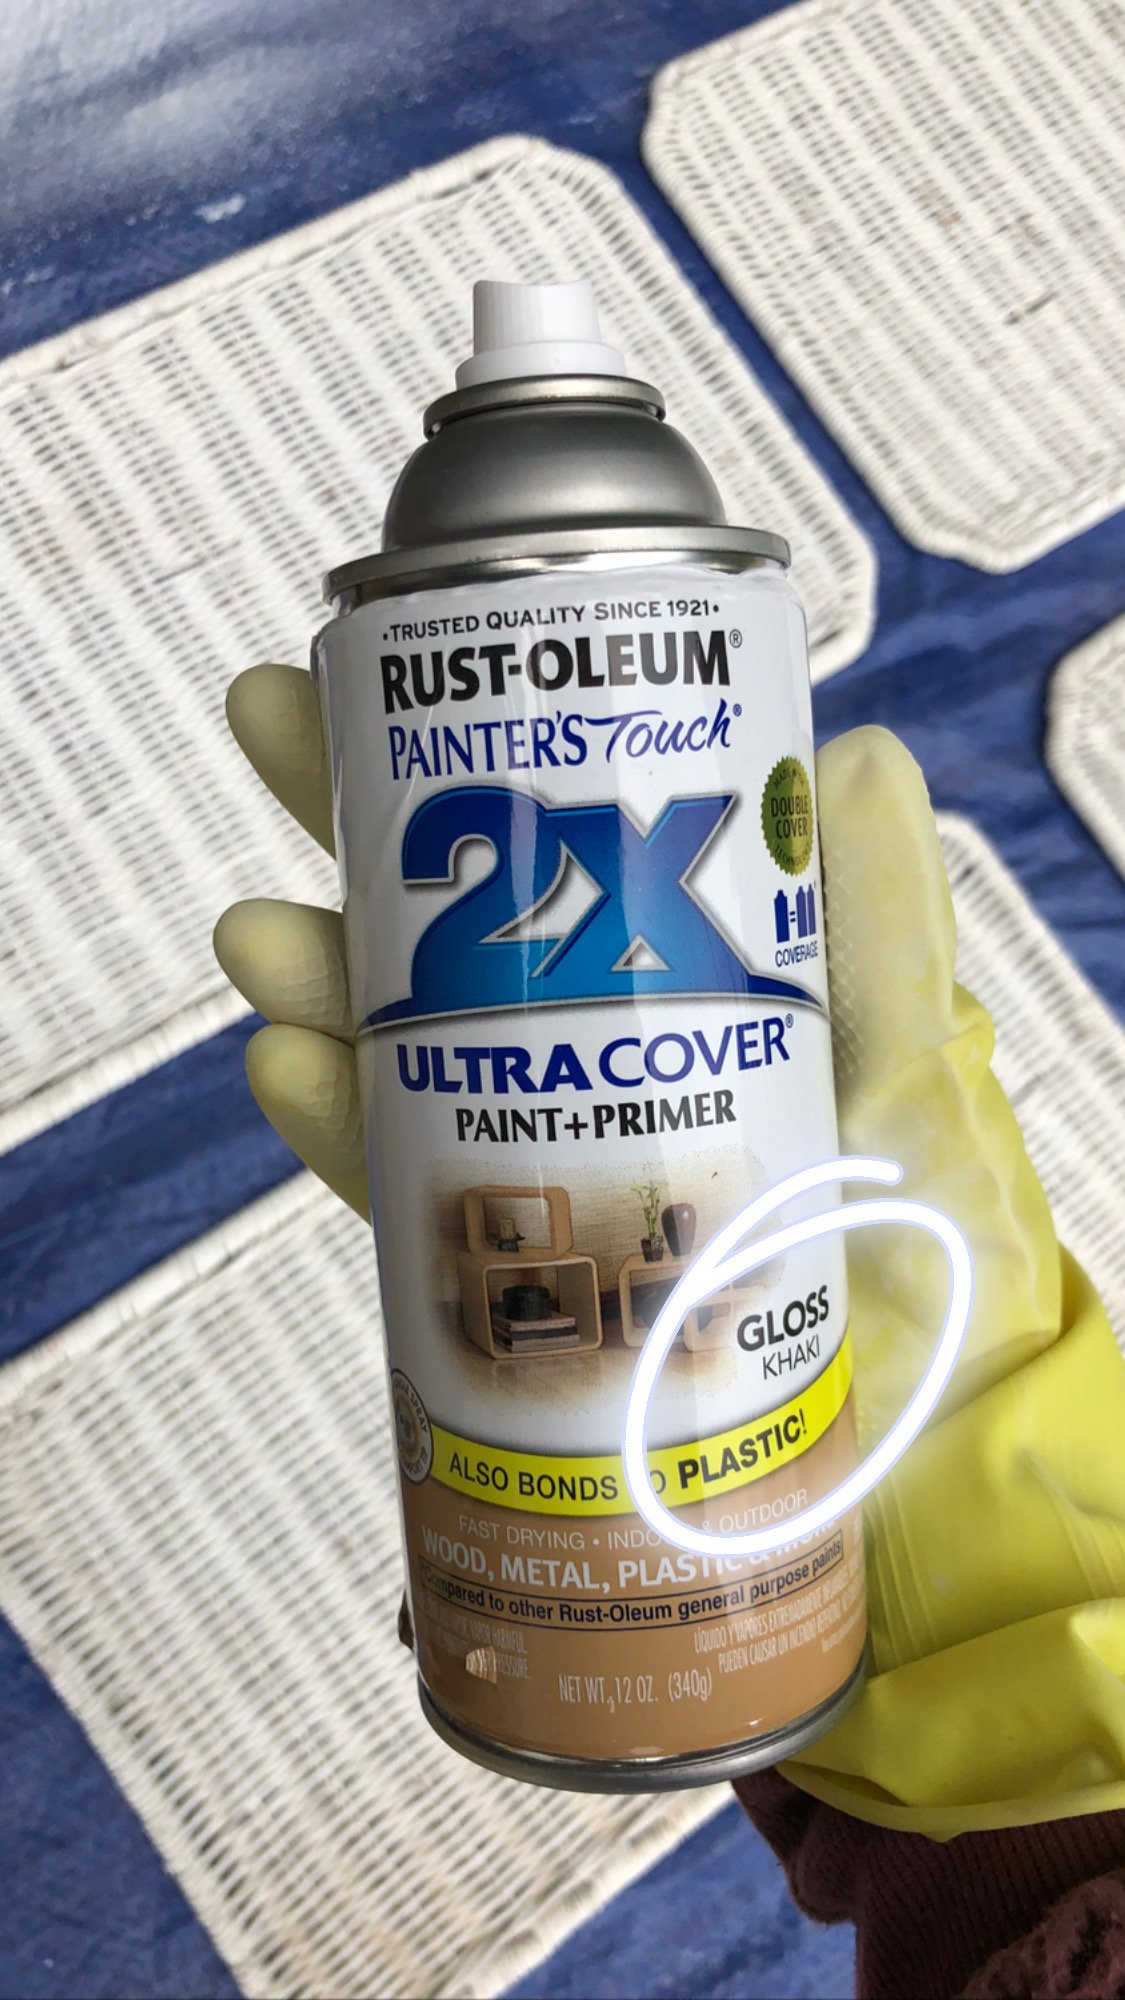
Since my first wicker rattan transformation, I have now spray painted 4 wicker shelves to date and have also enjoyed mixing Rustoleum Khaki AND Kryon Saddle Tan for a more natural-looking rattan finish. One thing to note about these spray paint colors is I can only get them in a gloss sheen.

I normally get the Khaki from Ace Hardware and the Saddle Tan from Guiry’s and I have never seen a satin or matte finish in either of those colors. If you wanted more of a matte finish to your piece, you might grab a matte clear coat to spray after your final coat.
*Side note, beware of the Khaki color from the Krylon brand because it’s definitely not the same color as Rustoleum Khaki. It has less warm tones and more white tones. I got a can from a neighbor and ended up using it as a basecoat before I finished a piece with saddle tan because it looked nothing like the color of rattan.
What’s the difference between rattan and wicker, you ask?
Good question, because I didn’t know either. Whenever I search online for arched shelves, I either type in “arched rattan shelf” or “arched wicker shelf” because people use the words interchangeably. After looking this up, I found some great info on several furniture websites (like this one) that rattan is the material itself which is a vine-like species with the skin peeled away and wicker is the style of weaving that can be composed of many different materials.
Now let’s get repairing our arched wicker shelf!
How I repaired my boho arched wicker shelf:
Once I got the shelf home, I gave it a quick hose down to clean off any dust and gunk from years of use, then let it dry. You want to be careful not to soak the shelf, just spray it enough to get it the dust off.
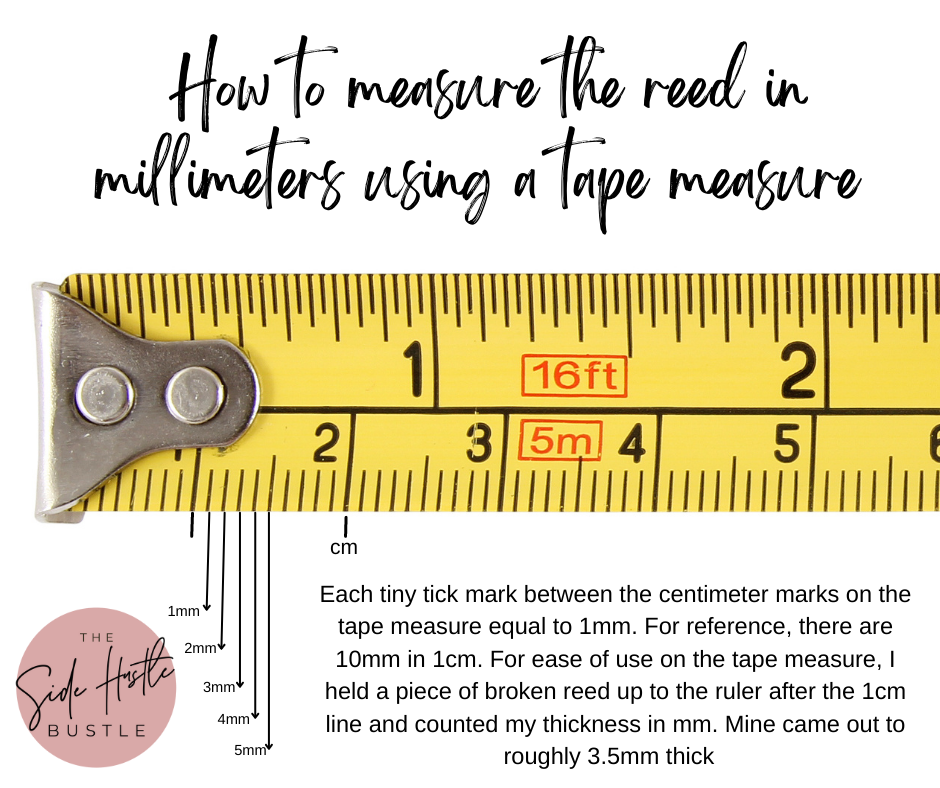
Before ordering the replacement reed, I measured a piece of the original broken reed to find the correct millimeter size reed. I took to the Googles and went down a rabbit hole of information because I know nothing about millimeters. This is how I learned how to measure my reed.
How to measure in millimeters: Take a piece of the broken reed and lay it on the centimeter side of a tape measure or ruler. The smallest marks on a tape measure indicate one millimeter or 1/10th of a centimeter. As you see in the image below, each tiny tick mark between the centimeter marks on the tape measure equals 1mm.
For reference, there are 10mm in 1cm. Because the tape measure has that little metal piece at the end, I held a piece of broken reed up to the ruler after the 1cm line and counted my thickness in mm. My reed measured out to roughly 3.5mm thick. Math…WUF.
Now, it’s likely that the reed you purchase won’t be the EXACT same size as what’s on your shelf because from what I saw, they really only have standard sizes and you have to keep in mind that the shelf is 40-60+ years old. But it will be a very close match so you don’t have to worry about it standing out, especially because once it’s painted, you won’t notice the subtle difference at all. Just get it as close as possible. I purchased a 3.5mm round reed roll in 1 pound but I only used a very small amount of the reed from that roll, so I have a bunch leftover. If you can get a half-pound or less, that might work best depending on your project needs.
Getting started replacing broken wicker:
I first had to remove all of the old broken reed pieces woven in the shelf. This is the part that was hard because I had to figure out a way to remove the old reed enough to allow enough space to tuck in the new reed pieces.
The old reed was especially tricky to remove because it was painted which bonded the reed to each other. I tried several removal methods like steaming with a handheld steamer then snipping it away and then pulling out with plyers but neither of those methods worked.
I then grabbed a retractable utility knife and started cutting the old reed away a few spaces up from where it was broken, that way I could pull the old reed out and later tuck and glue the new reed into that space. This worked perfectly!

I went through each section on both sides of the shelf, removing the broken pieces, and trust me it was a lot! But, I listened to an audiobook and since it was very repetitive, I was able to get it done quickly, maybe less than an hour.
Next, I soaked the new reed coil for about 15-20 minutes. This made the reed workable and prevented it from cracking or breaking.
Make sure to set a timer because if you soak it for longer, it could cause the reed to get too soft or darken which you don’t want.
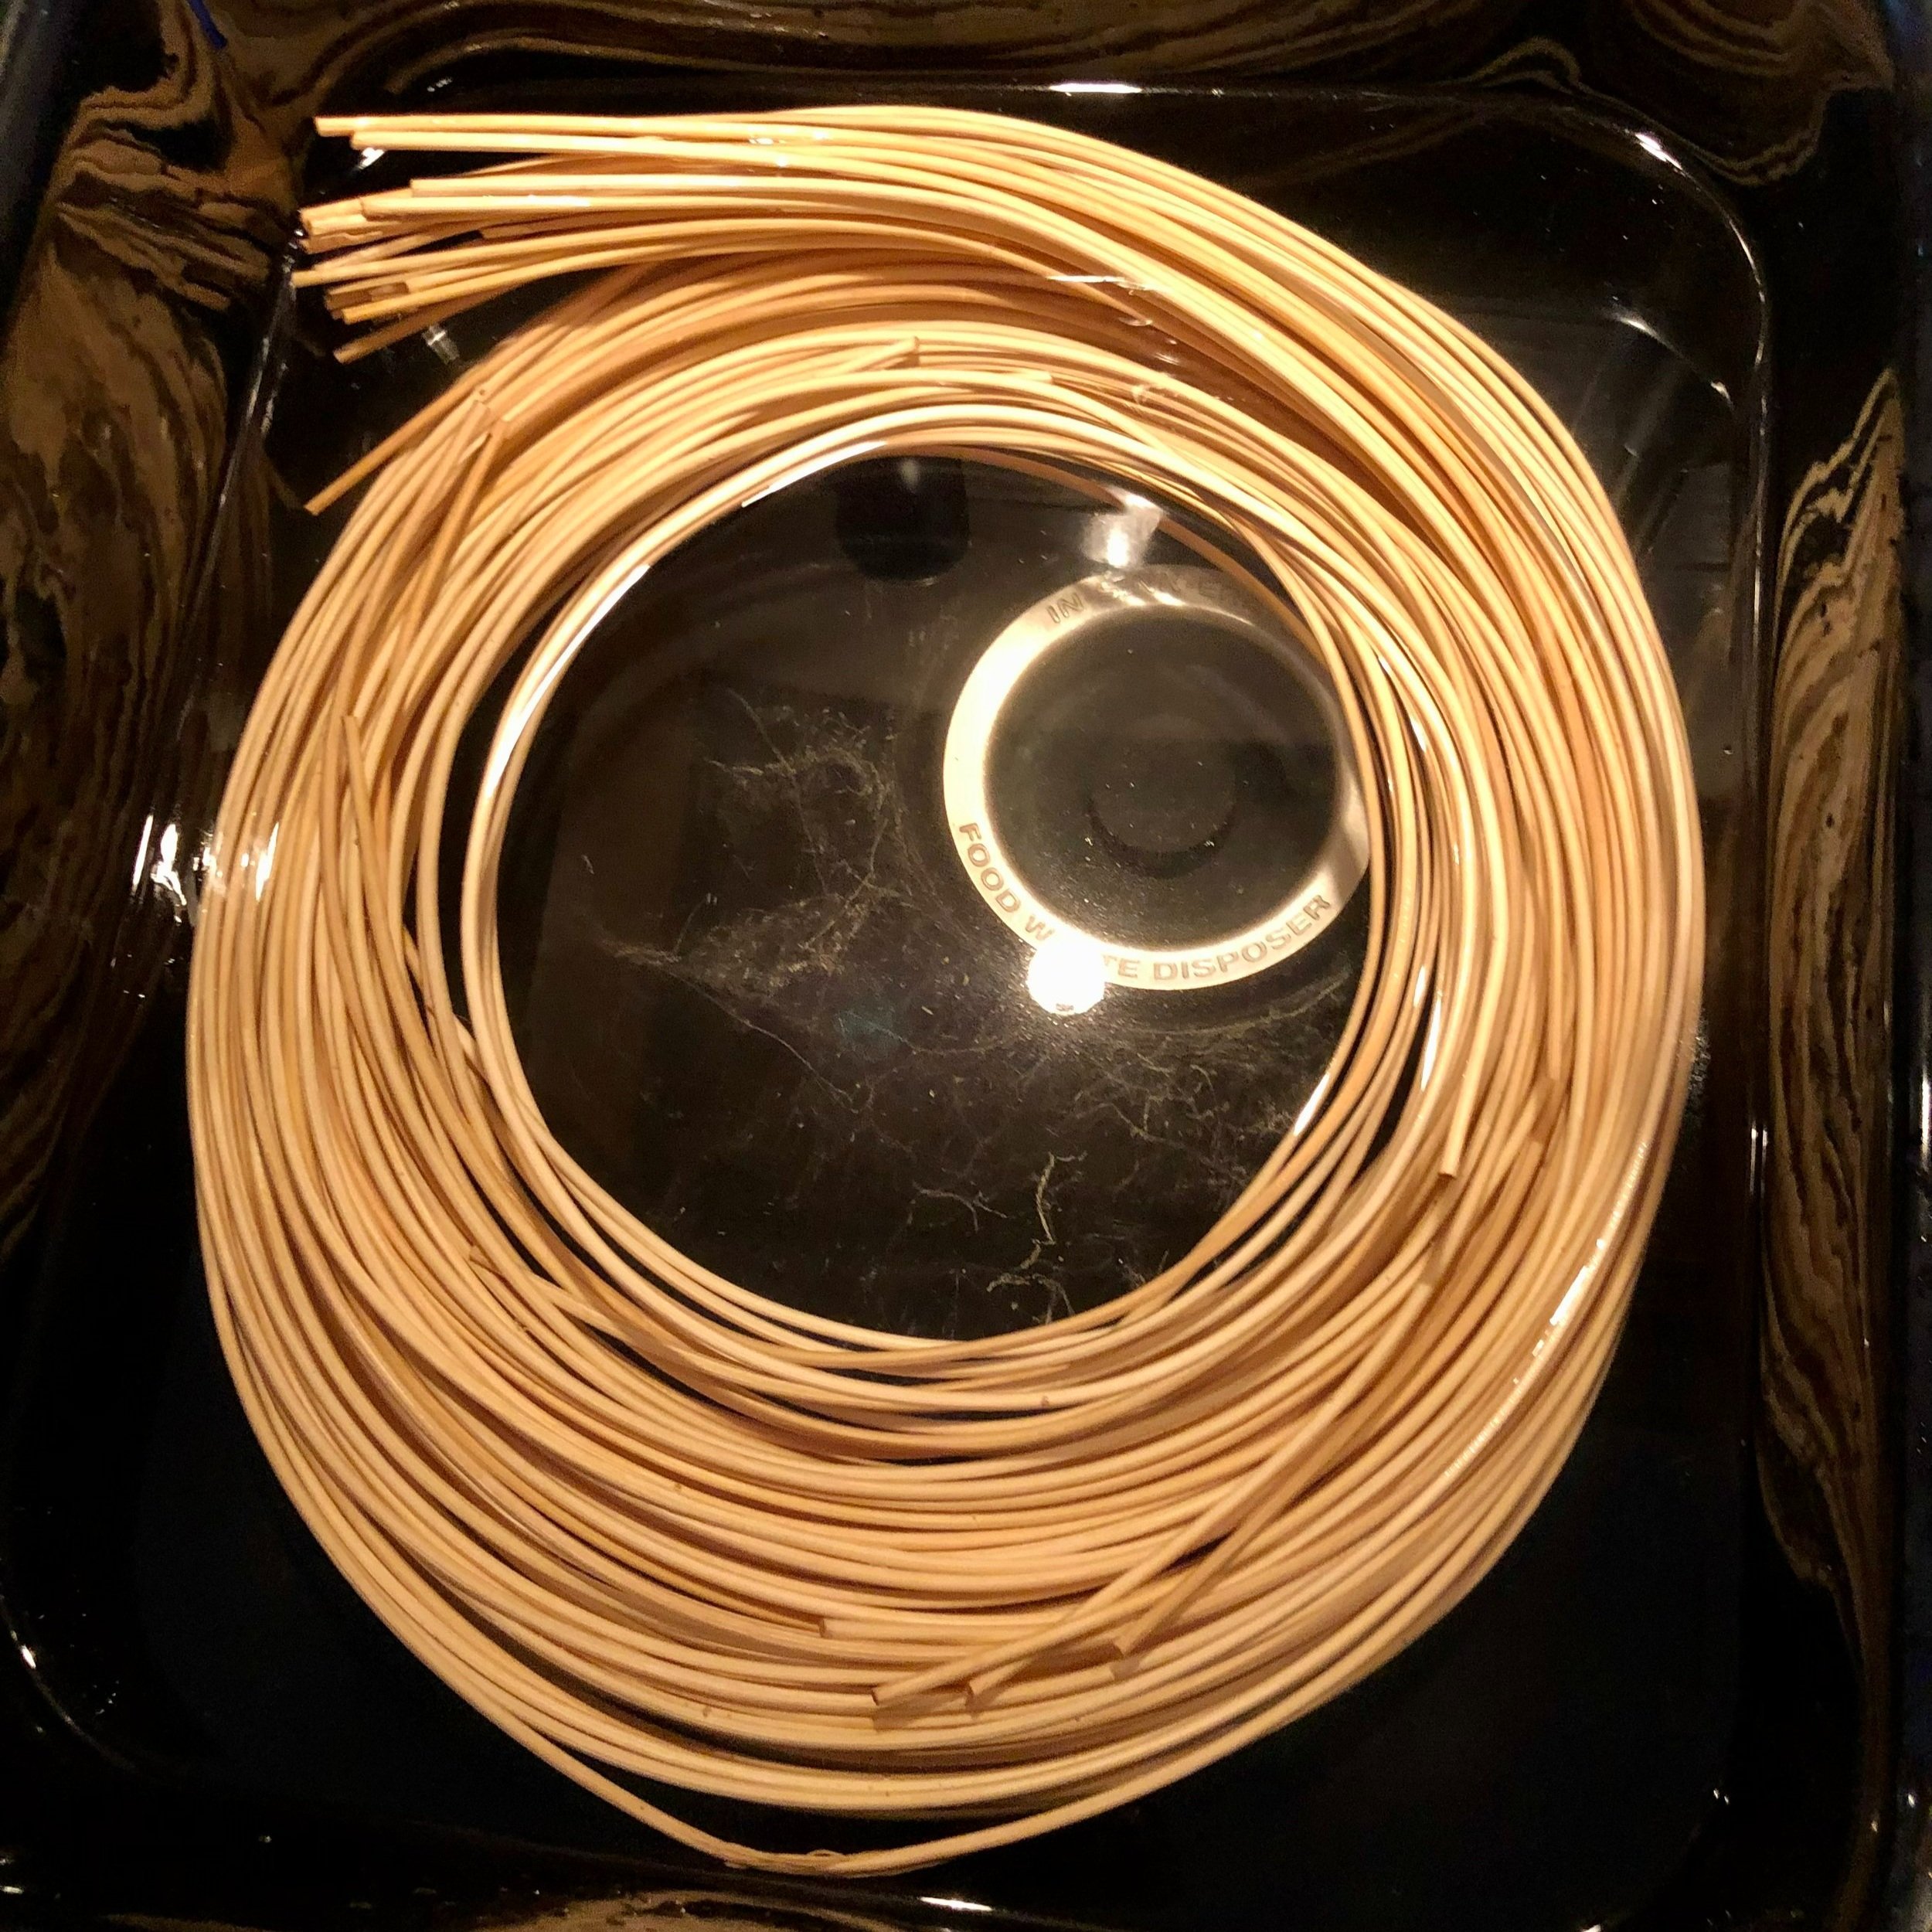
After soaking the reed, I took it out and laid it on my kitchen counter so I wouldn’t get my floor wet. I soaked my whole 1 pound coil but that definitely wasn’t necessary since I only needed a small portion of it for my project, but it wasn’t a big deal because it dried right back up allowing me to have extras again for later projects.
I measured the first piece of reed that needed to replace which was roughly 6 inches or so. I kept that piece and used it as a cutting guide for future pieces since they were all about the same size. To make life easy, I cut a bunch of pieces all at once but kept them slightly longer than needed so I could trim them as I went along. I cut each end at an angle to make it easier to tuck them into the spaces. I also kept a bowl of water nearby for when my reed started drying out and could resoak as needed.
Each time, I took a piece of cut reed, then did a rough test fit, clipping each end to make it fit perfectly. Once the piece fit, I added a little wood glue to both ends and tucked it into place. This is when I noticed the reed that I glued into place was starting to dry a little bowed instead of straight like the old reed. It needed some support. I went and cut a small piece of twine and tied a small knot around the new and old reed pieces where they intersected. This allowed the reed to dry straight and in the exact place where I needed it to and not take some funky shape.

I went through each section of the shelf repeating the process. Cut new reed to size, test fit if needed, glue both ends, tuck into place, and tie with twine where the two pieces intersected. This process was surprisingly therapeutic rather than tedious. The time flew by!

Once I was finished, I let all of the damp reed pieces dry fully and then I removed all of the little pieces of twine. This was the most annoying part of the whole project for me but really didn’t take long to do.
Painting the arched wicker shelf:
Now it was time to paint! This is the fun part where you get to see this shelf transform!
Step 1: Painting the removable shelves:
I started with the removable shelves. I carefully removed each of the 5 shelves making sure not to damage the inside wicker.
If you have trouble getting your shelves out because they feel stuck into place, you can position your shoulder up against the inside of one side of the shelf walls and then gently push the opposite side of the inner frame wall with your hands which will allow a little bit of space to gently pull the shelf up.
I laid all the shelves out on a tarp and sprayed the tops of the shelves first, but if I could go back in time, I would actually spray paint the bottom side first. This is only because when I let the shelves dry enough to where I thought I could flip them over to spray the other side, the paint wasn’t fully dry enough and I got some minor indents in my paint.

So if you paint the bottom side first, which is the side no one will ever see, you won’t have any issues when you flip it over to paint the top side because if it indents, it likely won’t make a difference. Additionally, you could and probably should wait several hours or the next day to paint the other side of the shelf so you don’t run into this issue at all. But who has that type of patience ;)
For each shelf, I sprayed the outside edges of the shelf first and then worked my way through the middle. You want to make sure you spray each angle of the shelf because even though it looked like the shelf was covered, when I took it inside, I later found white spots that had to be touched up. I sprayed the shelf going side-t- side and angled going front-to-back. Once I got the first side of the removable shelves sprayed, I moved onto the shelf frame while they dried and then came back for the backside.
Painting the shelf frame:
For the shelf frame, I set it onto a separate tarp and sprayed it going from the top down. You can start anywhere you want just make sure you cover the shelf completely, spraying at an angle from left-to-right, right-to-left, and then going both up and down. Again, I found later that even though it looked like I covered the whole shelf with paint, I found several faint white spots once I brought it into the house. So I can’t stress enough to look over your shelf well at all angles to make sure it’s fully covered.
Even though I had replaced all the broken pieces, there were still some damaged pieces I couldn’t replace that were shredded probably from the previous owner roughly taking things on and off the shelf or from people moving the shelf over the years, who knows! But I was just able to coat those areas with extra spray paint and you could hardly tell there were damaged spots. So don’t stress if there are other imperfections in the reed because the spray paint will most likely make those spots less noticeable.
I let the shelf dry for several hours outside and then it finished curing over the next couple of days inside the house. I don’t recommend setting items on the shelf or selling it right away until the paint has hardened and no longer feels tacky to the touch. It will feel very solid once it is dry.
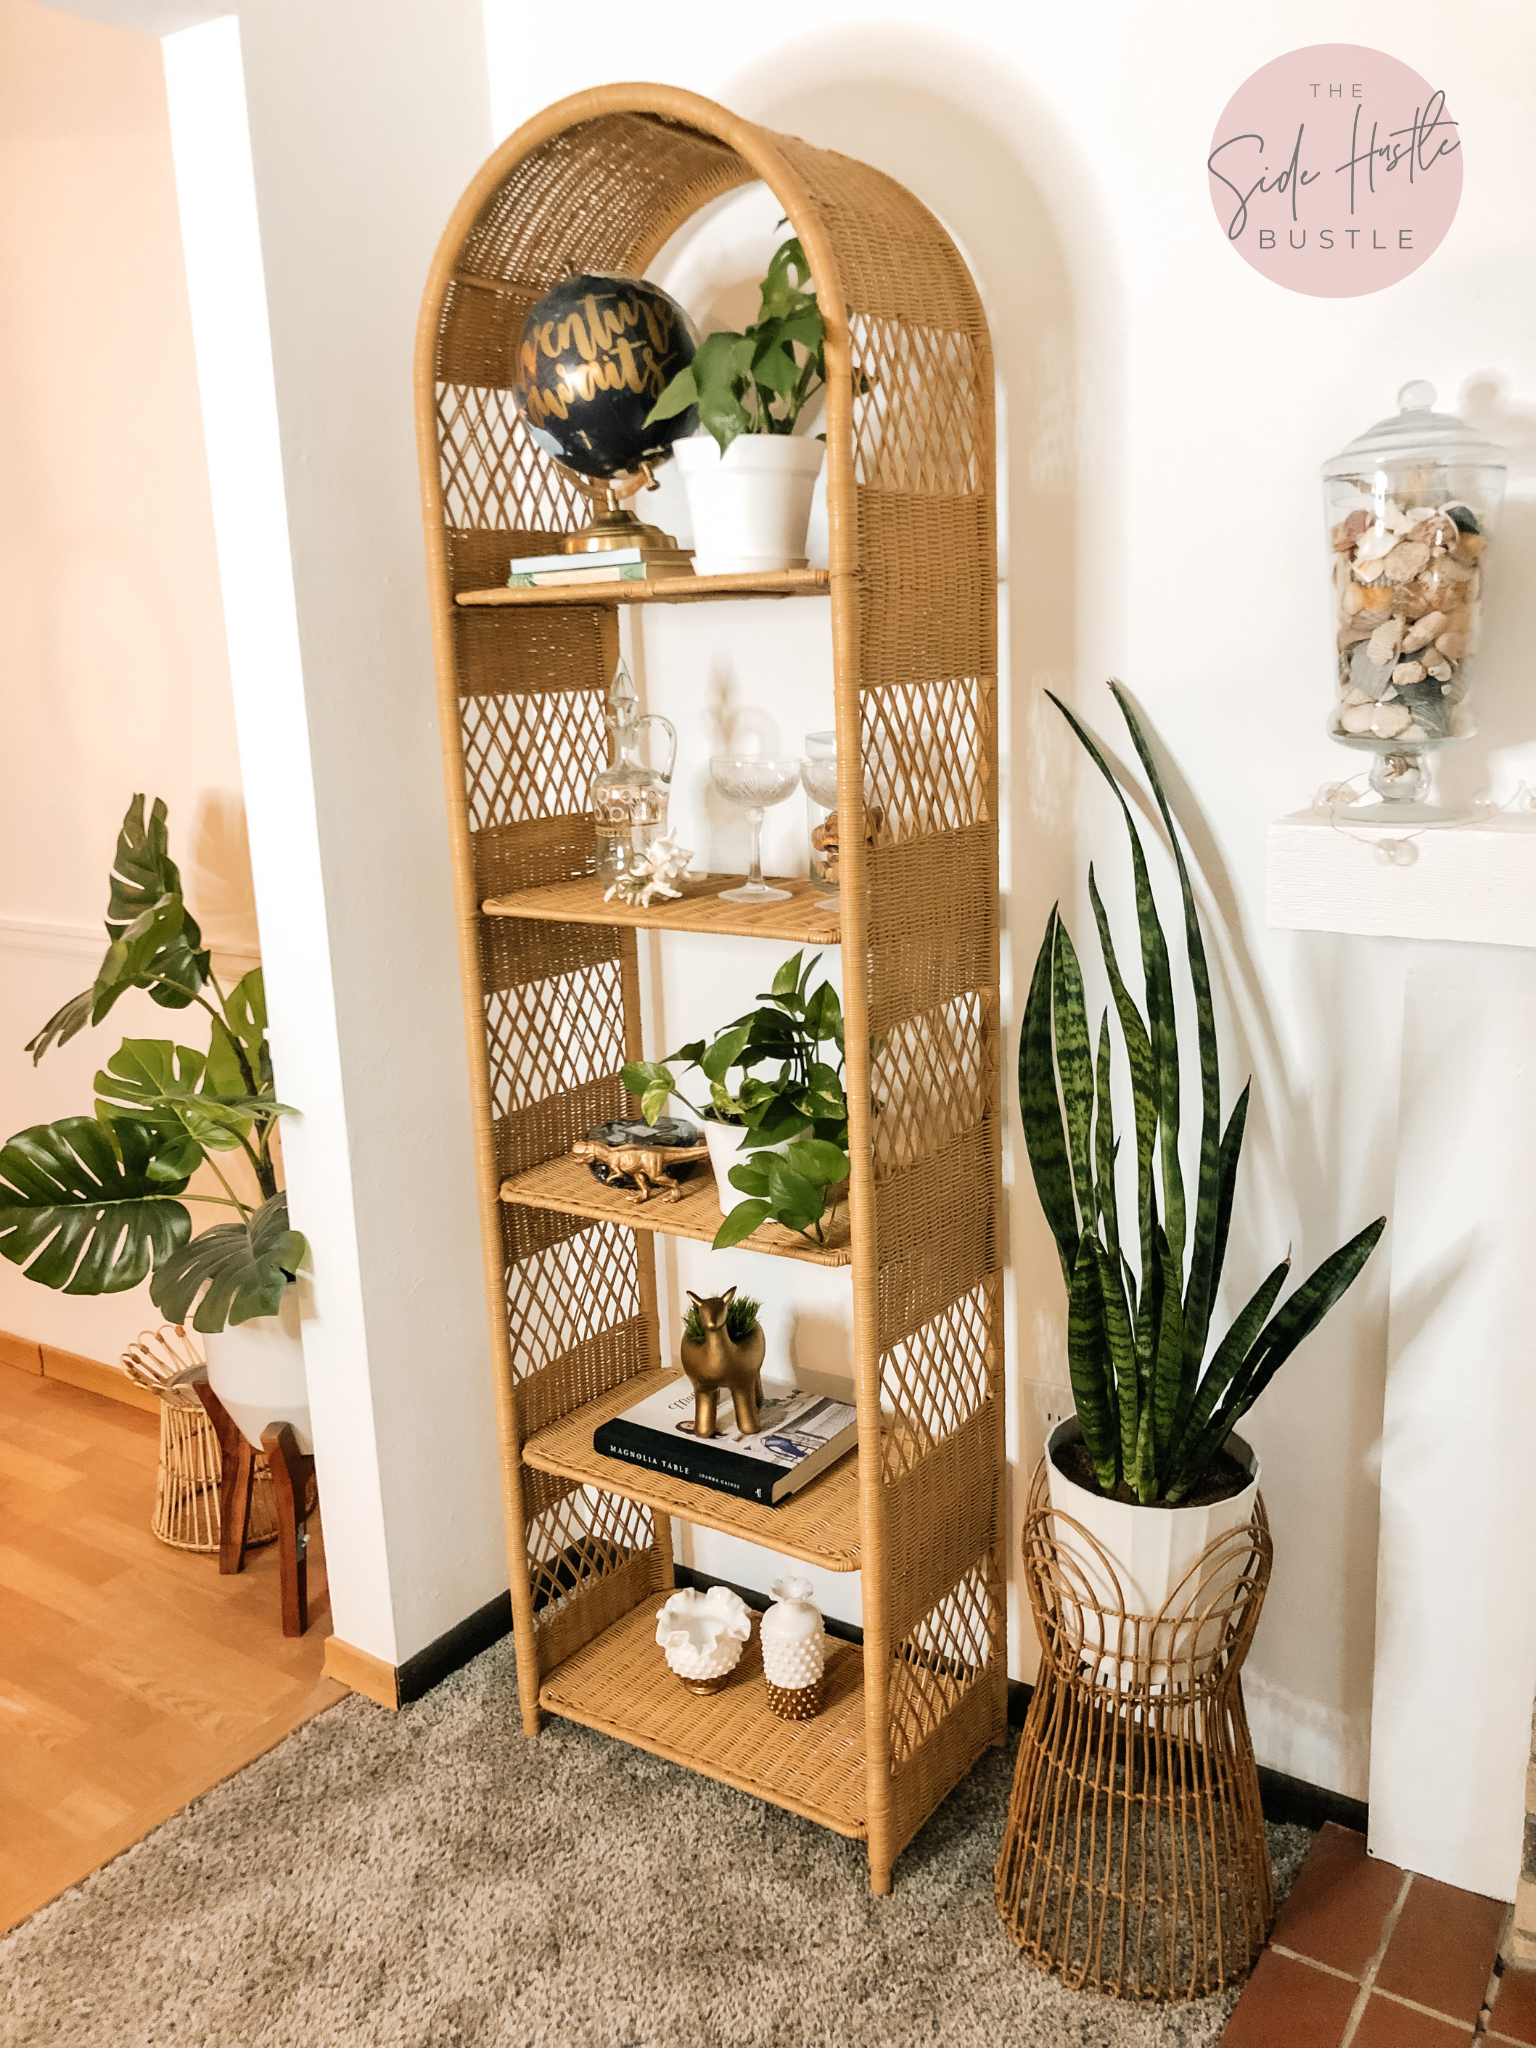
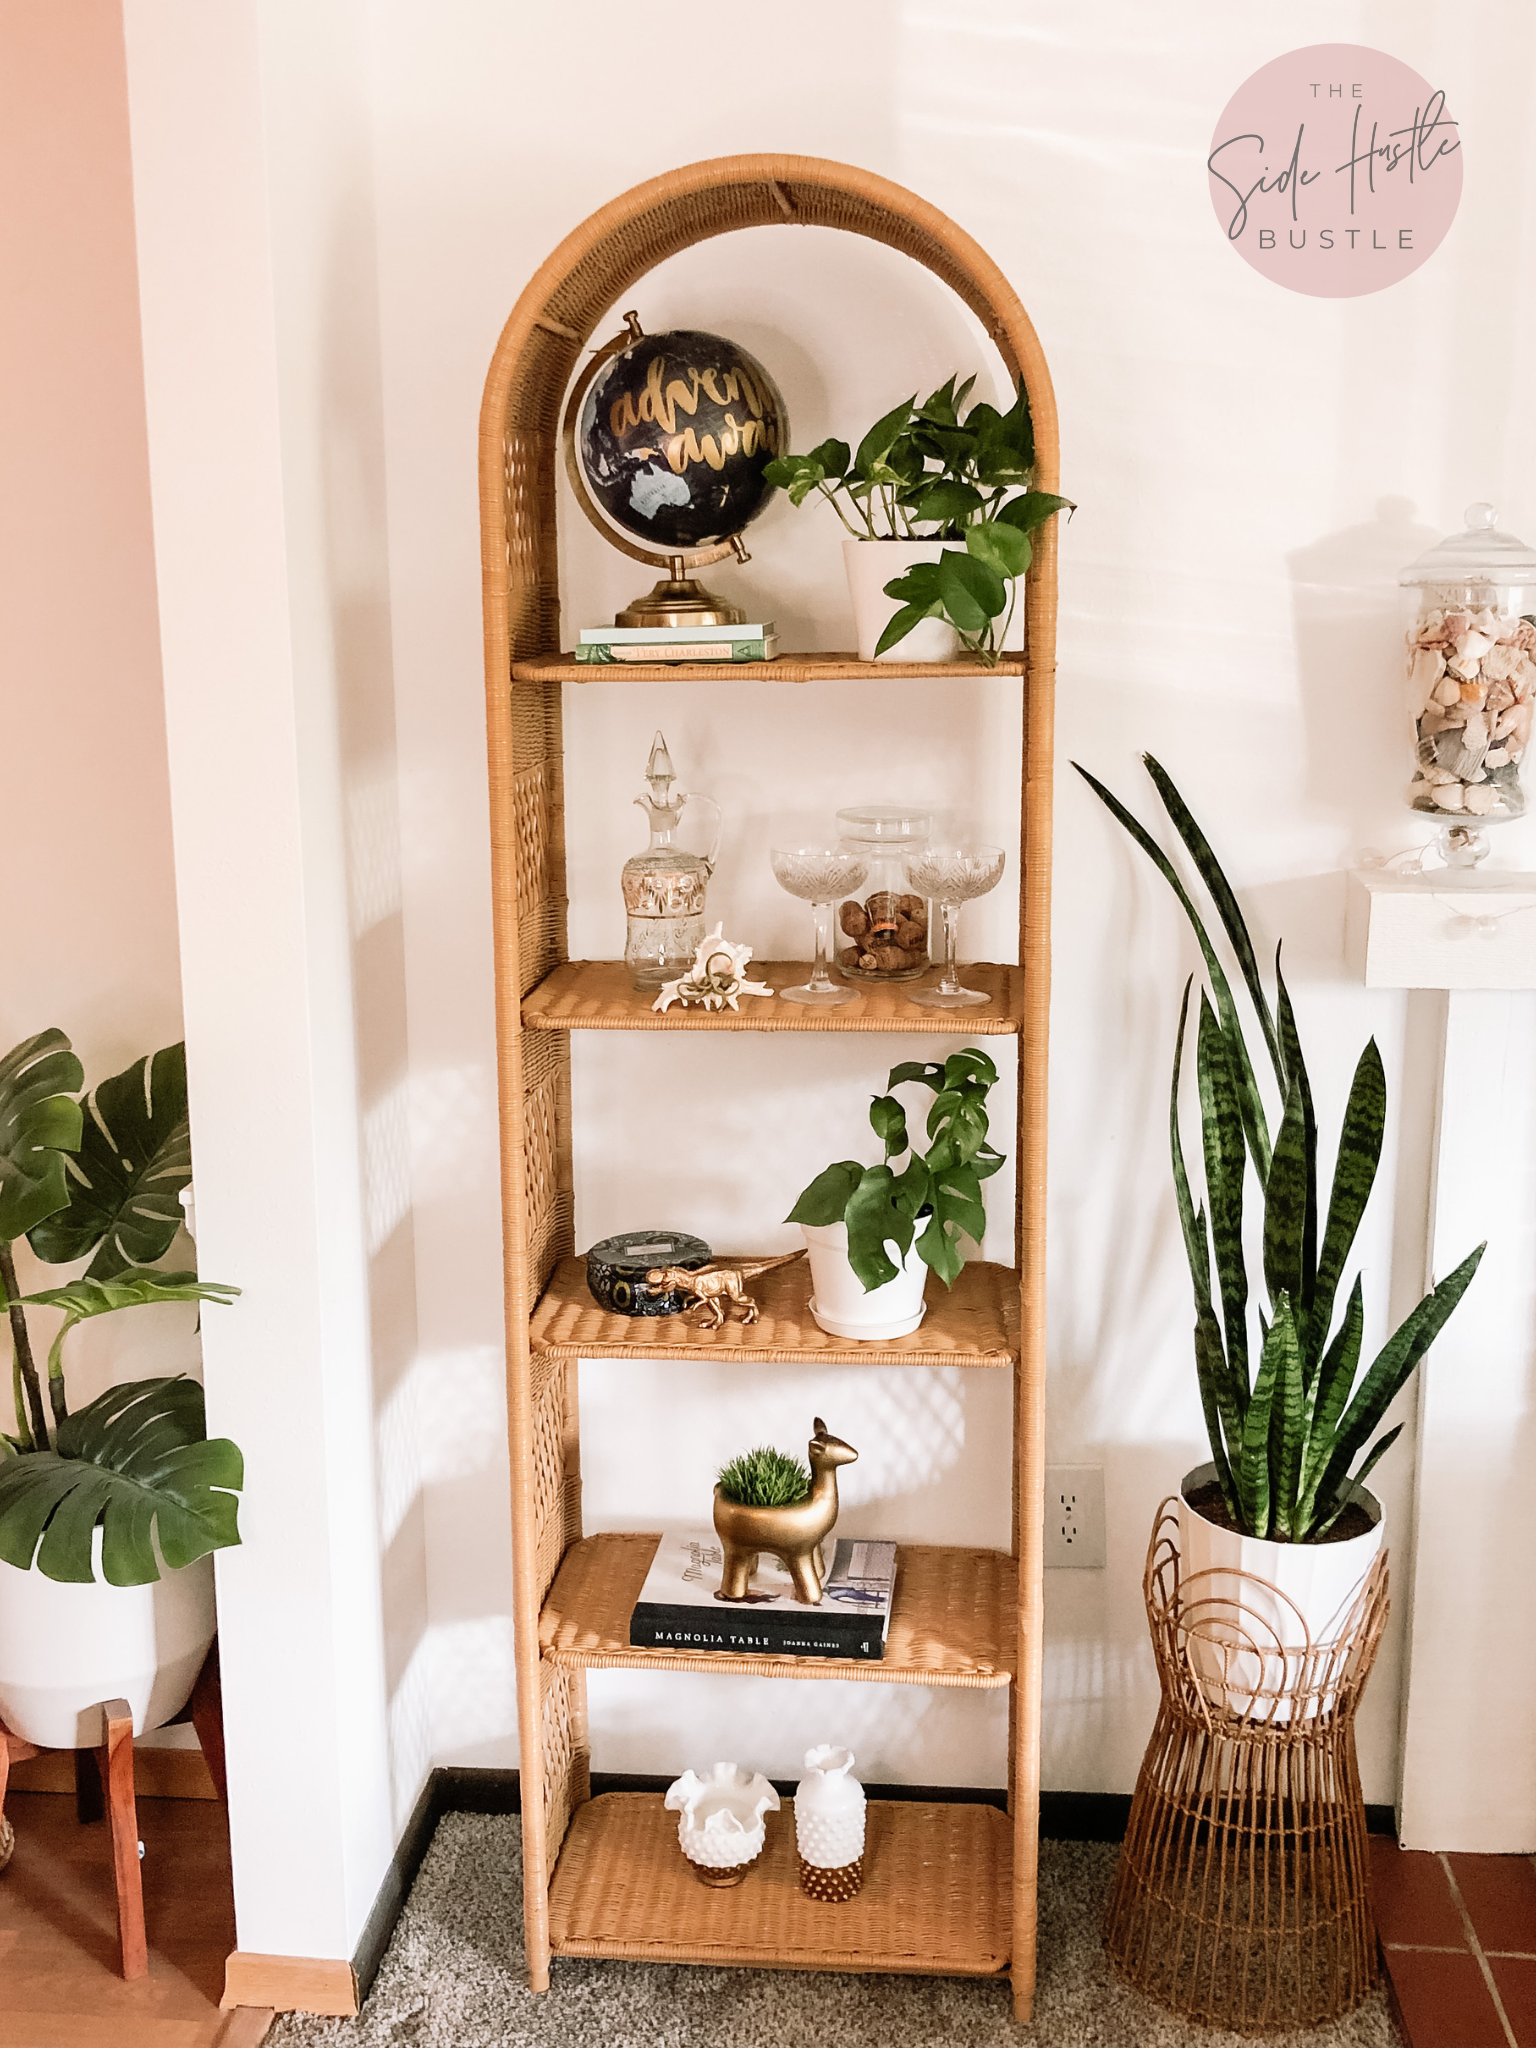
Once dry, I styled the shelf and admired my gorgeous handy work. Seriously, I was so proud and could hardly believe the transformation. I was very tempted to keep it. Even my mom and husband were asking if I was having second thoughts about selling it but as much as I loved it, I wanted to prove to myself that I could make a decent profit on this flip.
I listed my gorgeous boho arched wicker shelf as soon as it was dry enough to style it and take a #shelfie photo. I listed it on Facebook Marketplace and Nextdoor for $250 - I expected to get $200-225 out of it, but I always list items higher so that I have room for offers.
I had an offer after a day for $200 but that lady flaked on me at the last minute (this solidified my reason for why I tell people I don’t hold popular items unless they pay me ahead of time), I then had another nice girl come pick it up later that day for $225 which gave me a total of $161 profit after deducting the $64 for the shelf and supplies. The whole project took me about 4 hours (not including research time that I usually did laying in my bed at night and morning) which is roughly about a $40 per hour breakdown. Not too bad in my book and I learned a new skill that I can apply to future projects.
The cost breakdown:
$25 for the shelf on Nextdoor
$17 for paint (3.5 cans of Rustoleum Khaki spray paint)
Other supplies I already had laying around my house
Total supplies and shelf: $64
Sold on Nextdoor: $225
Profit: $161
You can watch the entire process I posted on TikTok
Simplified instructions to repair a boho arched wicker shelf:
Material and tools:
Reed round or flat (see above section for how to measure in millimeters)
Spray paint Rustoleum Khaki Color in Gloss
Instant aerosol trigger (I wish I had one of these!)
Tarps or cardboard (I get tarps from the Dollar Tree but you can also buy on amazon)
Additionally, I created an amazon list with all of the items in one place. You can shop that list here.
Instructions:
Clean shelf: Hose down the whole shelf. If your shelf is grimy, get a soft to medium brush with soap water and give it a light scrub. Don’t soak the shelf, just get it wet enough to get it clean. Mine only needed a light hosing down. Leave it to dry completely.
Remove old broken reed to make room for new reed: Using a skinny retractable utility knife, start cutting the old broken reed away a few spaces up from where it was broken, that way you can pull the old reed out and have enough space to tuck and glue the new reed into that space. Go though the entire shelf and remove them all at one time.
Soak new reed coil: Soak the coil of reed or a large section of it for about 15-20 minutes. Set a timer so you don’t forget. This makes the reed workable otherwise it will crack or break. If you do it for longer, it could cause the reed to get too soft or darken.
Measure the reed to make a template: Take a measurement of the first piece of reed that you need to replace, mine was roughly 6 inches or so but every shelf size will be different. Keep that first cut piece to use as a cutting guide template for future pieces since they may all be a similar size. Cut several pieces of reed all at once but keep them slightly longer than needed so you can trim them to size. Cut each end at an angle to make it easier to tuck into the spaces. Depending on how many pieces you are replacing, you might want to keep a bowl of water nearby for when the reed starts drying out so you can resoak as needed. This might not be necessary if you live in a humid climate.
Test fit reed and glue into place: Take one of your pre-cut reed pieces and hold it up to the section you are replacing. Make sure you are matching the pattern of the wicker correctly. Trim the piece on the ends until it fits just enough to tuck into the space where you removed the broken piece from. Do a test fit, then put a small dot of wood glue on both ends of the reed and tuck it into the wicker space.
Tie the new and old reed together with twine where they intersect: This is a step I had to do so that all of the new reed dried into the same pattern as the original shelf design. Otherwise, the reed my bow and dry in a weird shape. I did a simple knot where the old and new pieces of reed intersected- see above photo.
Replace all of the broken pieces and then let dry: Once you’ve gone through and replaced all broken sections of the whole shelf, let the damp reed dry into place then remove the twine by either cutting or untieing. Whichever is faster.
Spray paint outside or in a ventilated area: Take your shelf outside, remove the individual shelves if they aren’t attached, lay them bottom side facing up on a tarp or cardboard boxes. Spray the shelves first so they can start the drying process. Make sure to stay around the edges first and then cover the inside of the shelf spraying at an angle going from left-to-right, then right-to-left, as well as forward-to-backward to ensure you don’t miss any spots. Let the shelves dry for several hours or overnight before flipping them to spray the top side of the shelves.
Next, set the shelf frame on a tarp and begin spraying, again make sure to spray at an angle going from left-to-right, diagonolly, as well as up and down the shelf to ensure you don’t miss any spots in the wicker. Don’t lay the paint on too thick because it may drip. Let dry and later come back to double-check any spots you missed and touch up those areas.
Let your shelf dry completely: Once dry, the paint should feel no longer feel tacky to the touch. You can replace the shelves and move the shelf inside after a couple hours and let it dry fully. The paint will feel very solid once it is dry, about 24 or so hours. As tempting as it is, I don’t recommend setting items on the shelf until the paint feels completely dry otherwise you will get indentions in your paint. Just be patient :)
Decorate it and enjoy your handy work! Then you can list on FB Marketplace if you desire or keep it for yourself. If you list it on FB, do a search in your area first to see what the shelves are selling for and then you can use that as a guide to set your pricing. I recommend setting the price a little higher than you would like to get because people will try to negotiate with you. Of course, you can hold firm on your price too! Do what feels best to you!
I hope this post was helpful and if you end up making over your own shelf, please tag me in it on Instagram @sidehustlebustle or TikTok @sidehustlebustle! I would love to see your project!
This post contains affiliate links for your convenience. This means that I receive a small percentage of any purchase you make using the links in this post. Thanks for your support!

